How to - macOS Sonoma Mail app
Before trying to setup your email account, ensure that you have:
- An active email service, like MS365 or cPanel
- Your email address is created and you know the password
- If needed, you have the incoming and outgoing settings. For MS365, you wont need this as it will be setup as Exchange.
Note: As always, for help with these applications, please seek guidance from the manufacturer, however we offer the following article to get you started. Please use the webmail version of your service while you get things setup exactly as you like.
Step 1
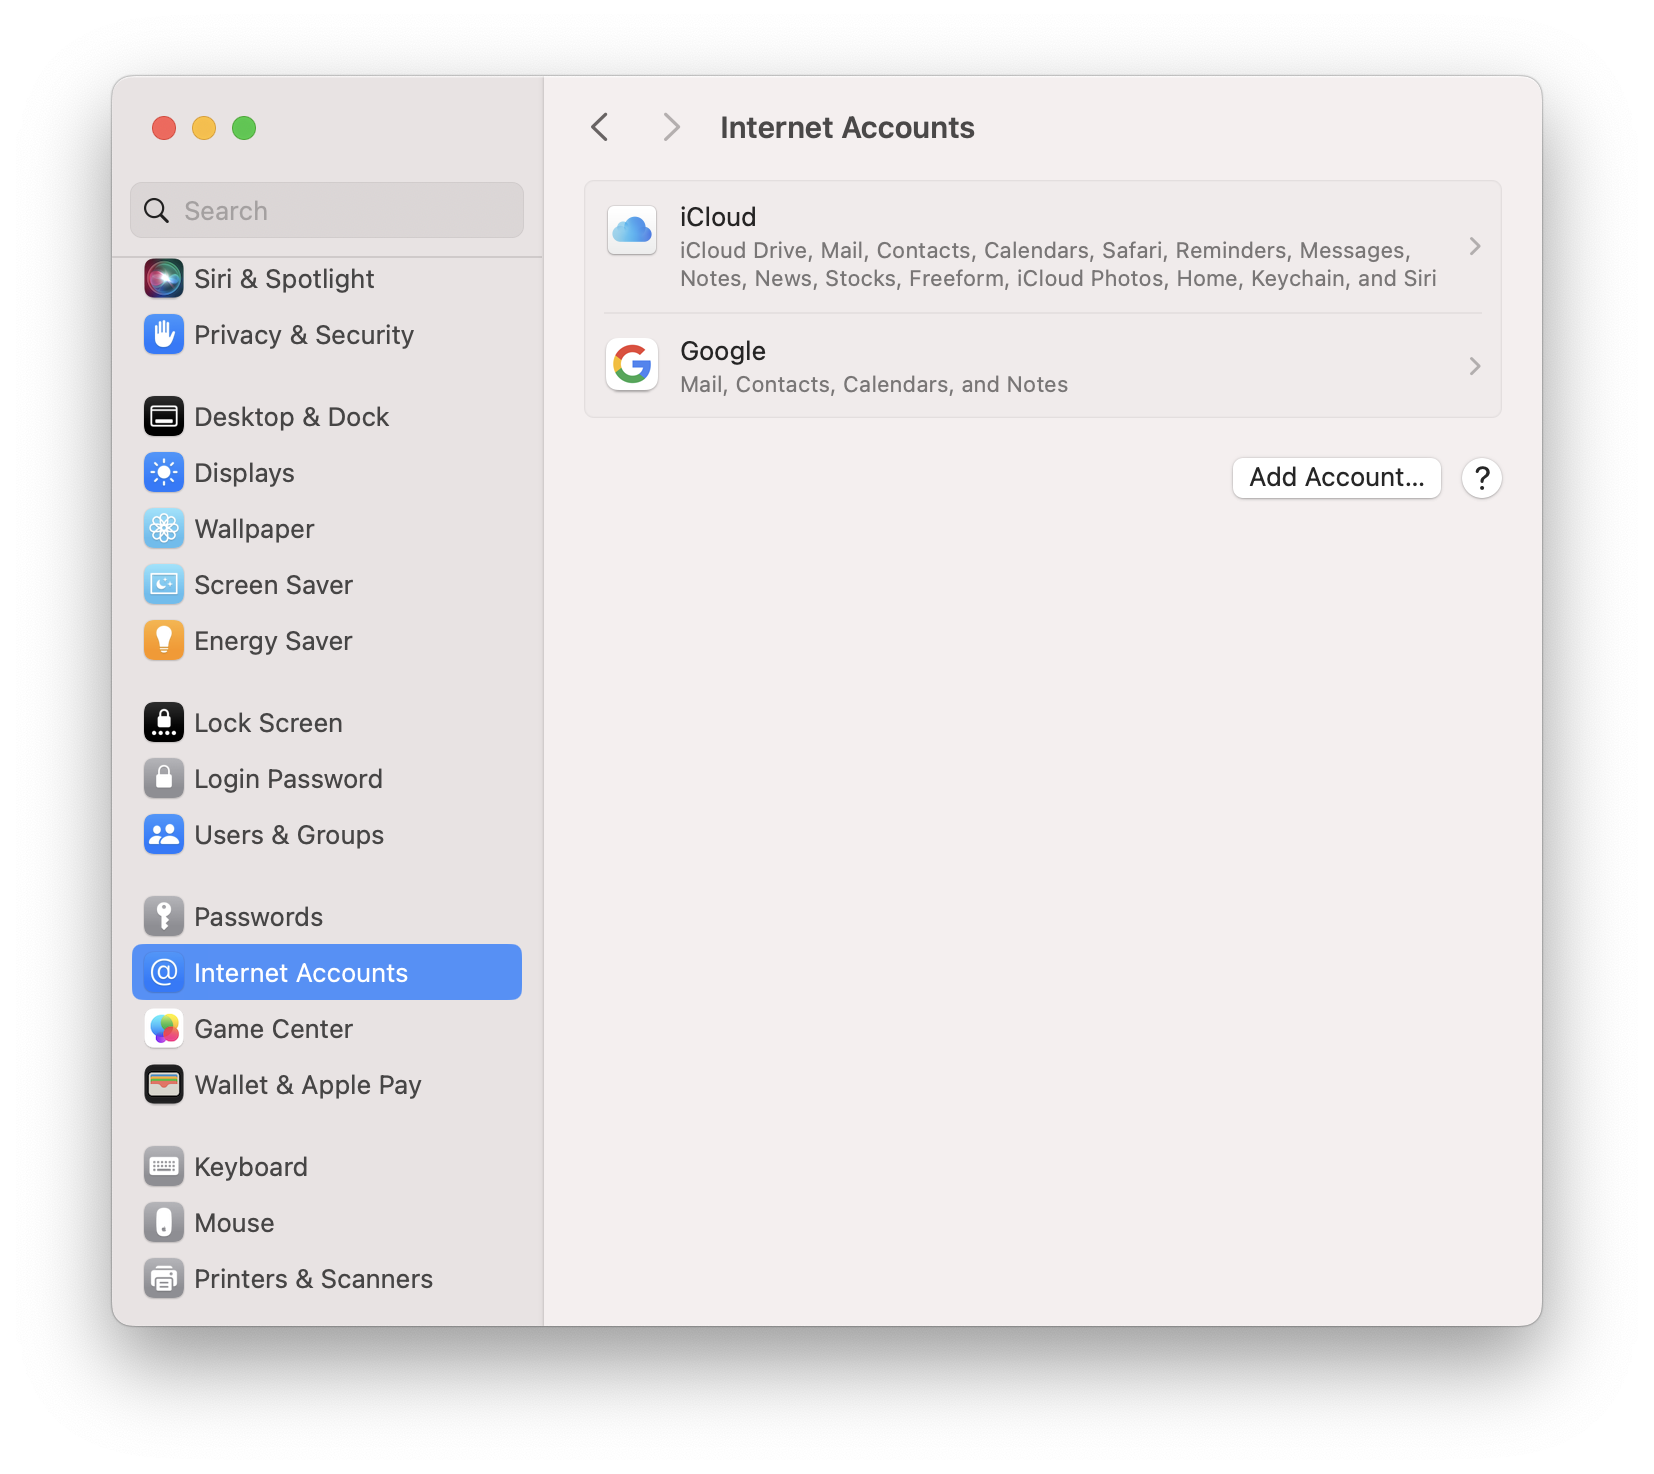
Open System Preferences and navigate to Internet Accounts
Step 2
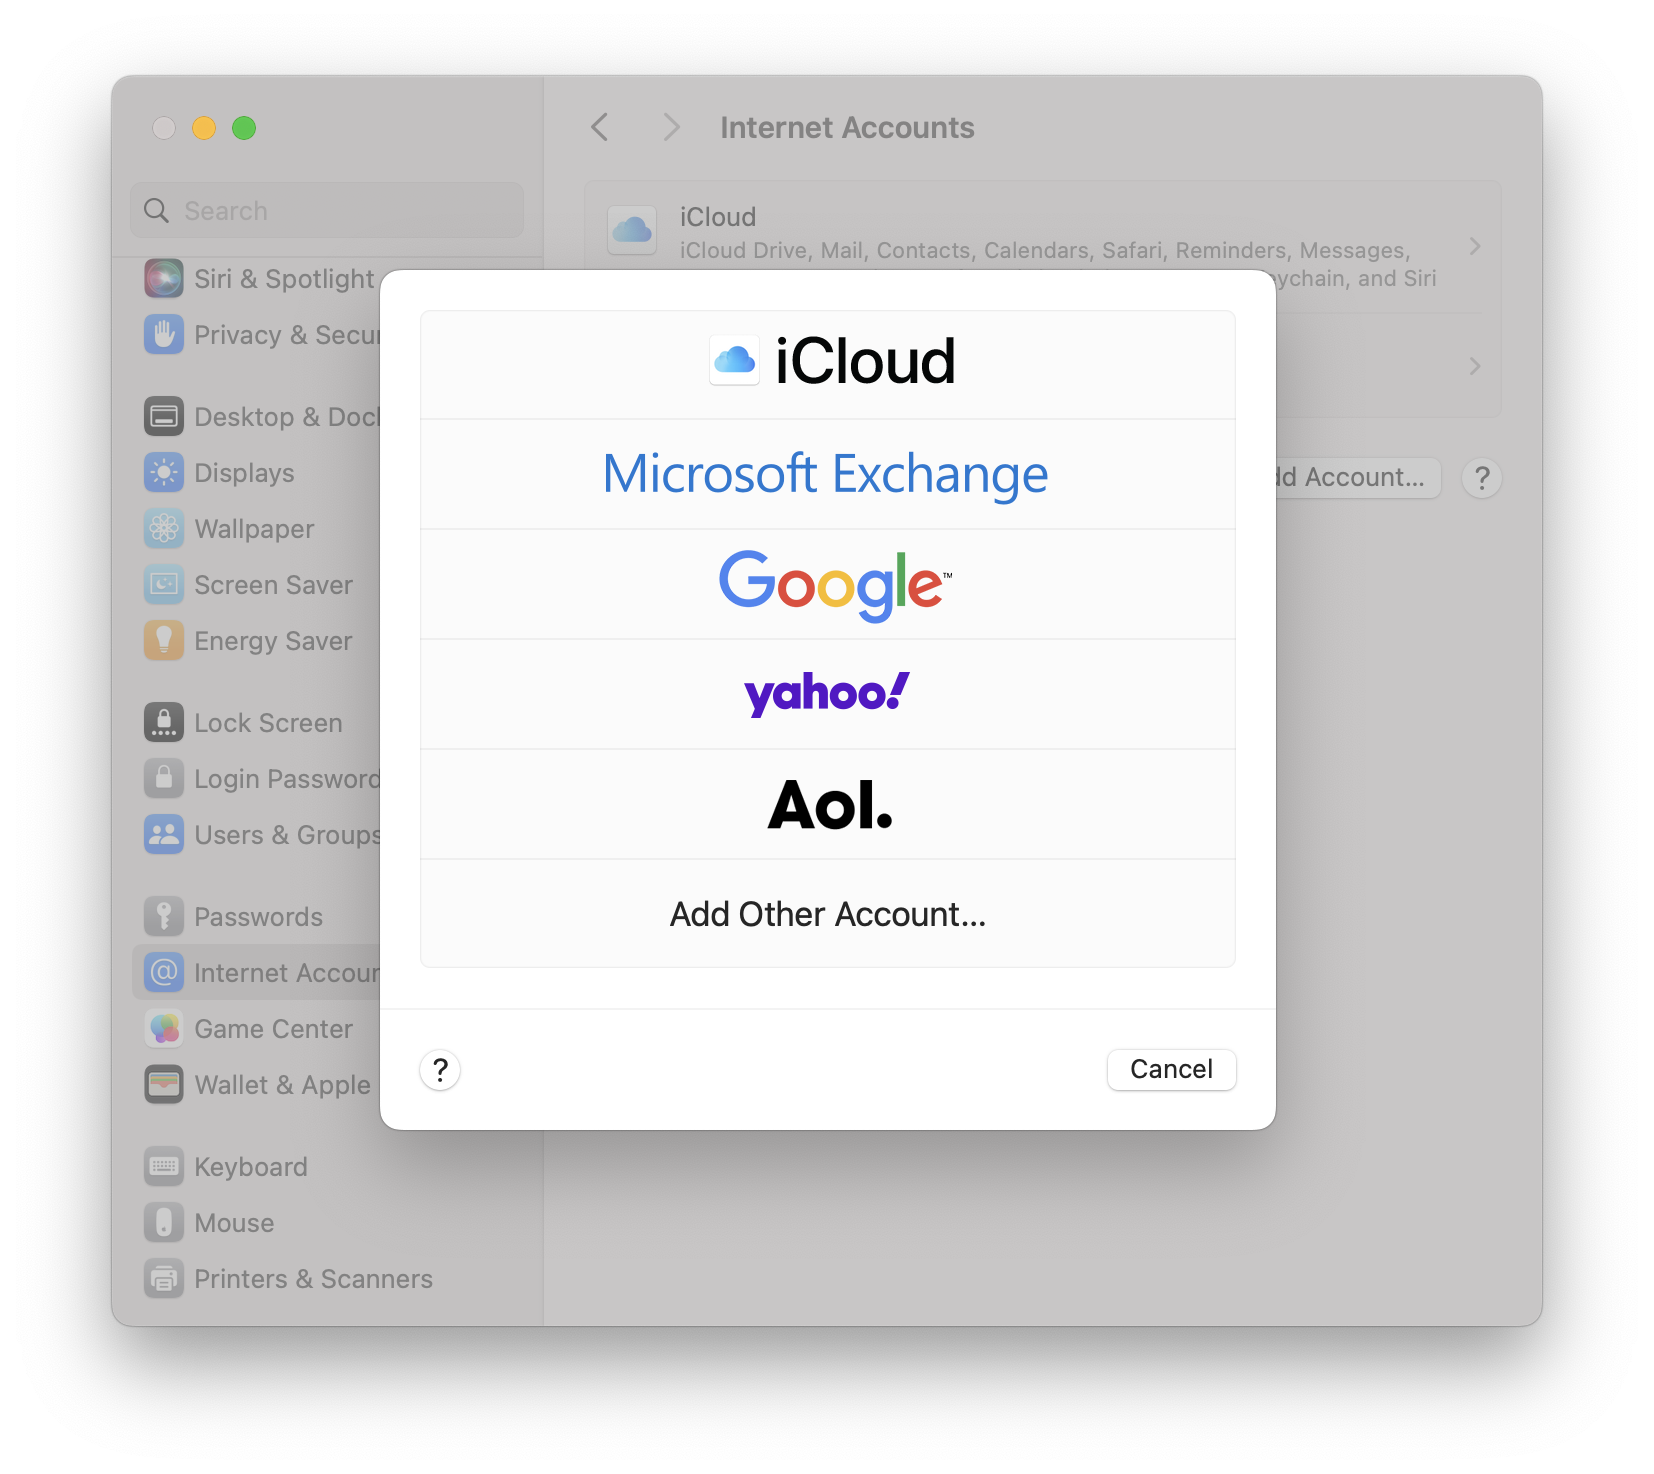
Click Add Account
For MS365 mail accounts, select Exchange and simply enter your email address, password and if you have one setup, your MultiFactor Authentication Code from your connected device. Skip to step 5 after following the prompts.
If you have cPanel or Cloud, get your settings ready and click on Add Other Account and then select IMAP.
Step 3
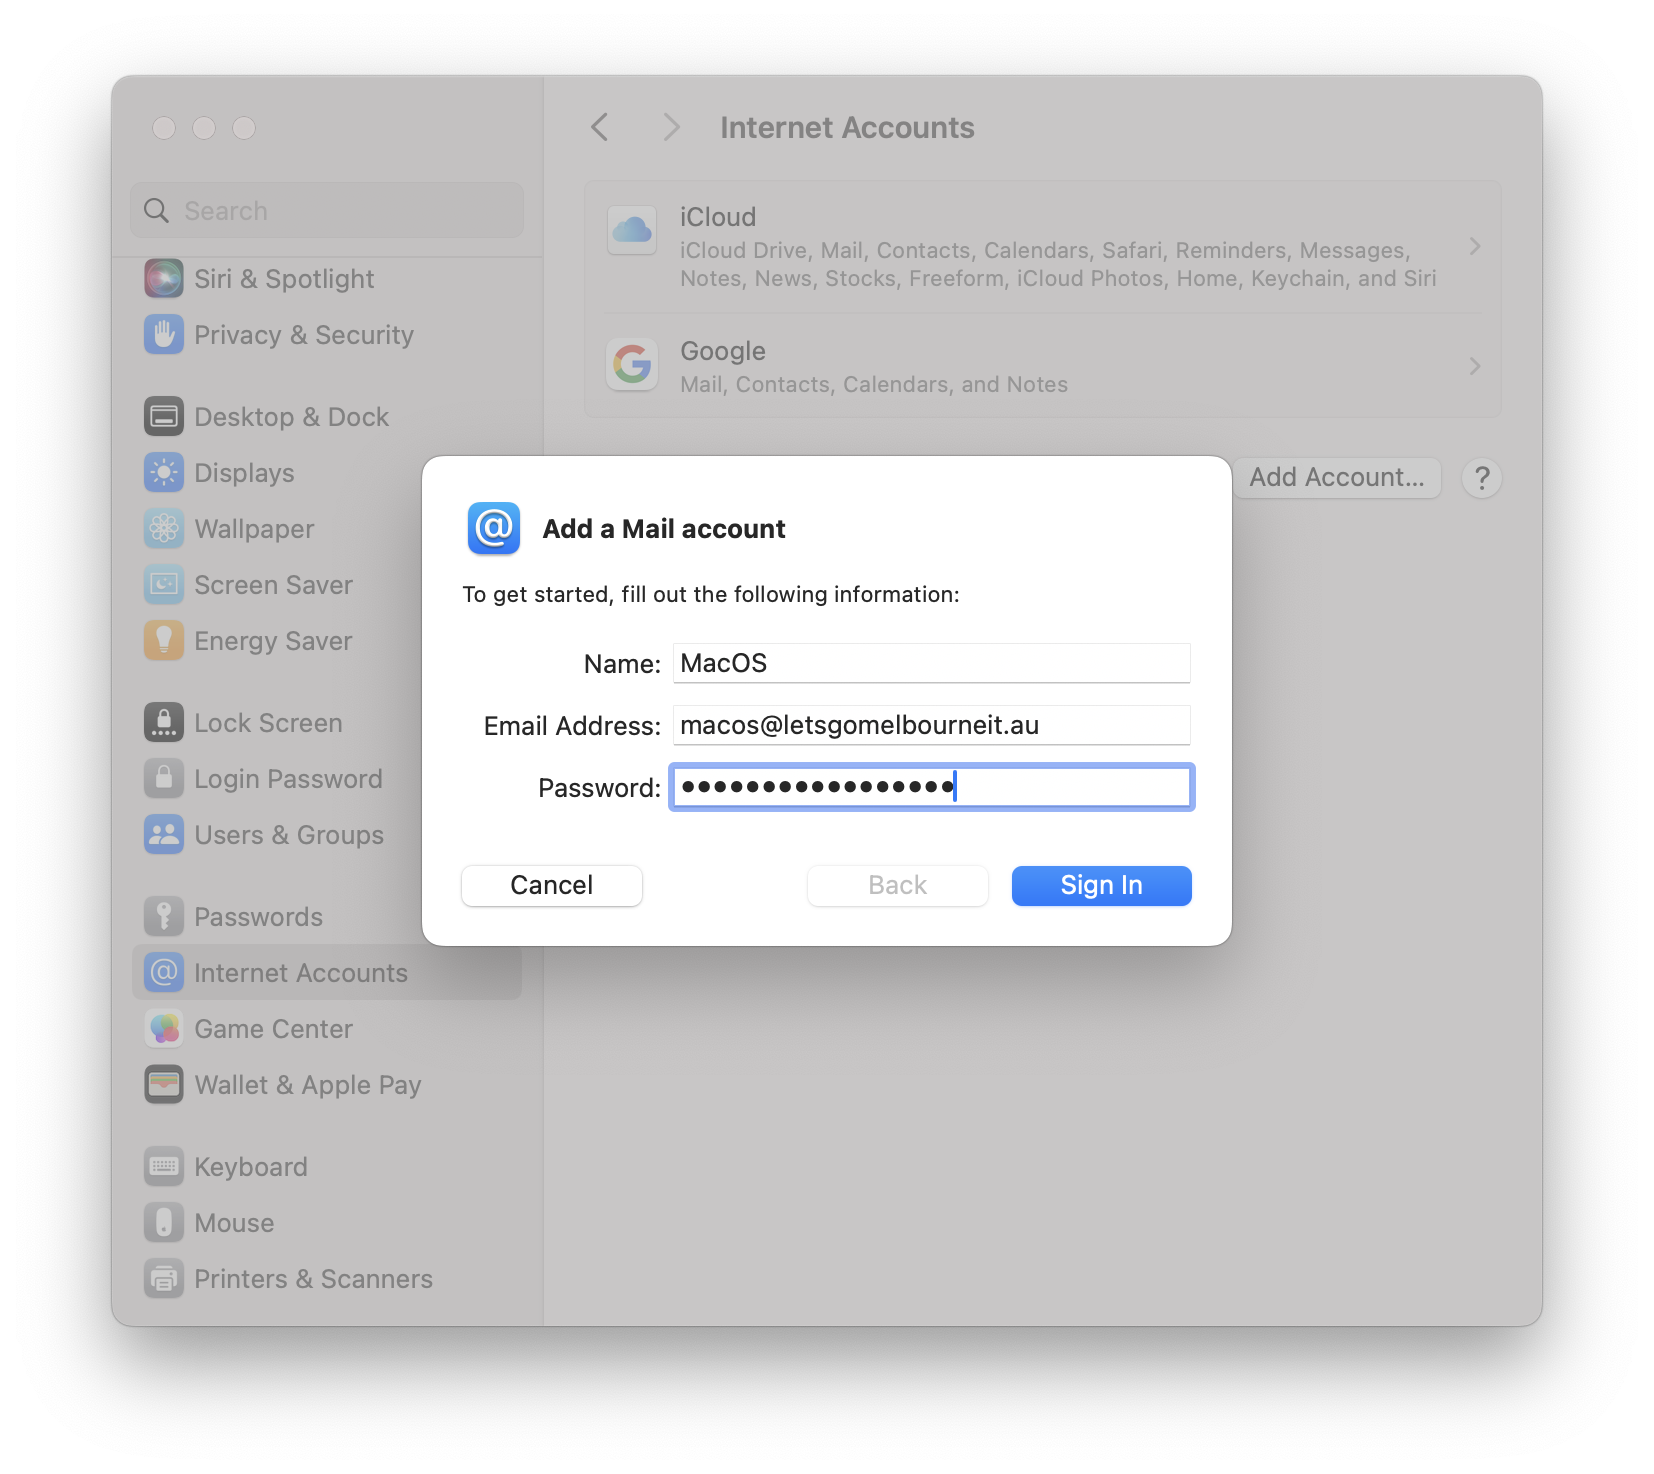
Select Mail Account and enter the details as you have them:
Name - this can be your name, it will be shown in areas like System Settings and Mail.app
Email Address - the email address you wish to add
Password - the password for the email account
Then Click Sign In
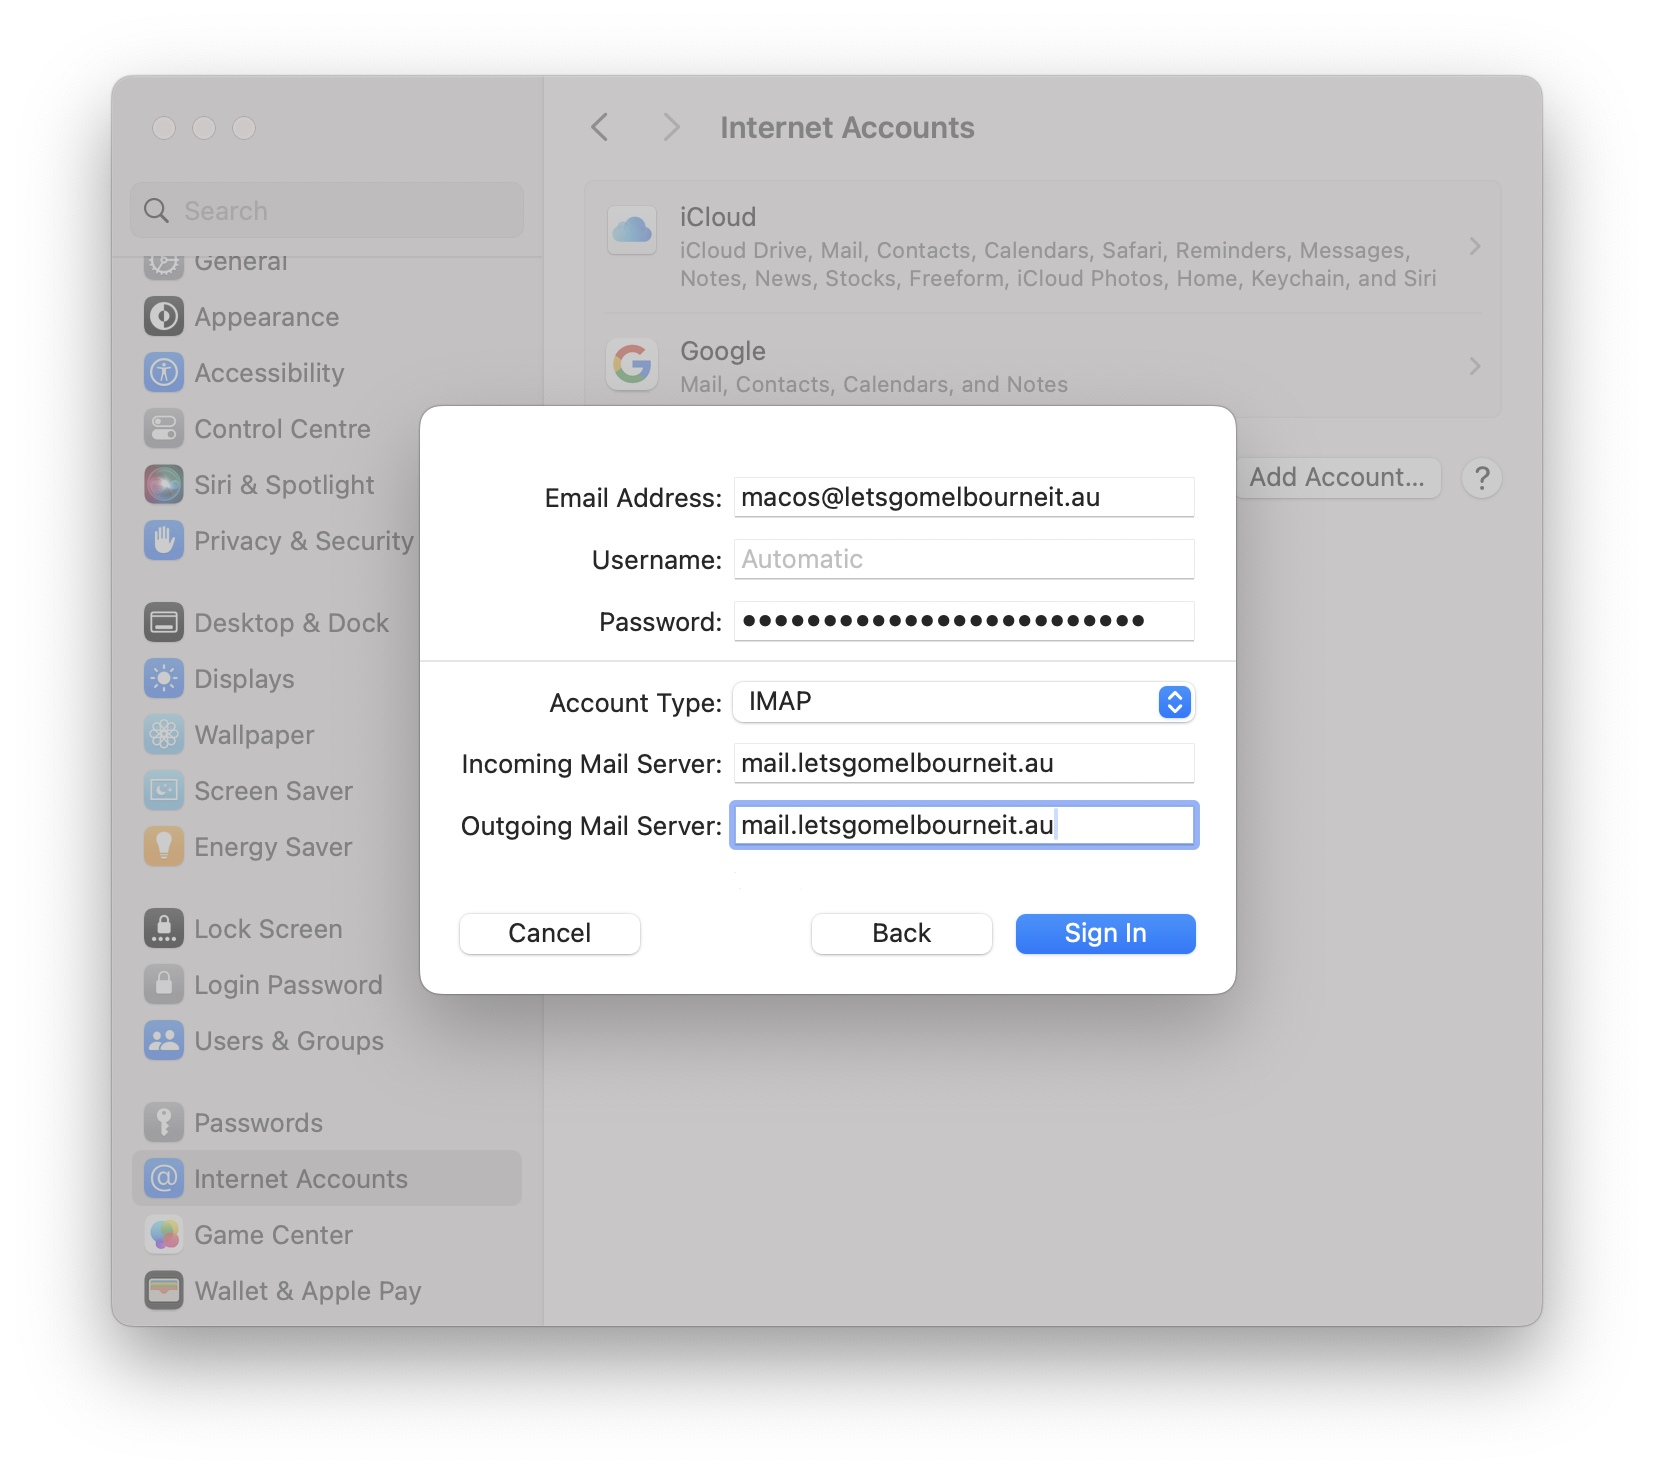
You will be then have to enter the incoming and outgoing server settings, these are generally mail.youdomain and then click sign in again.
Step 4
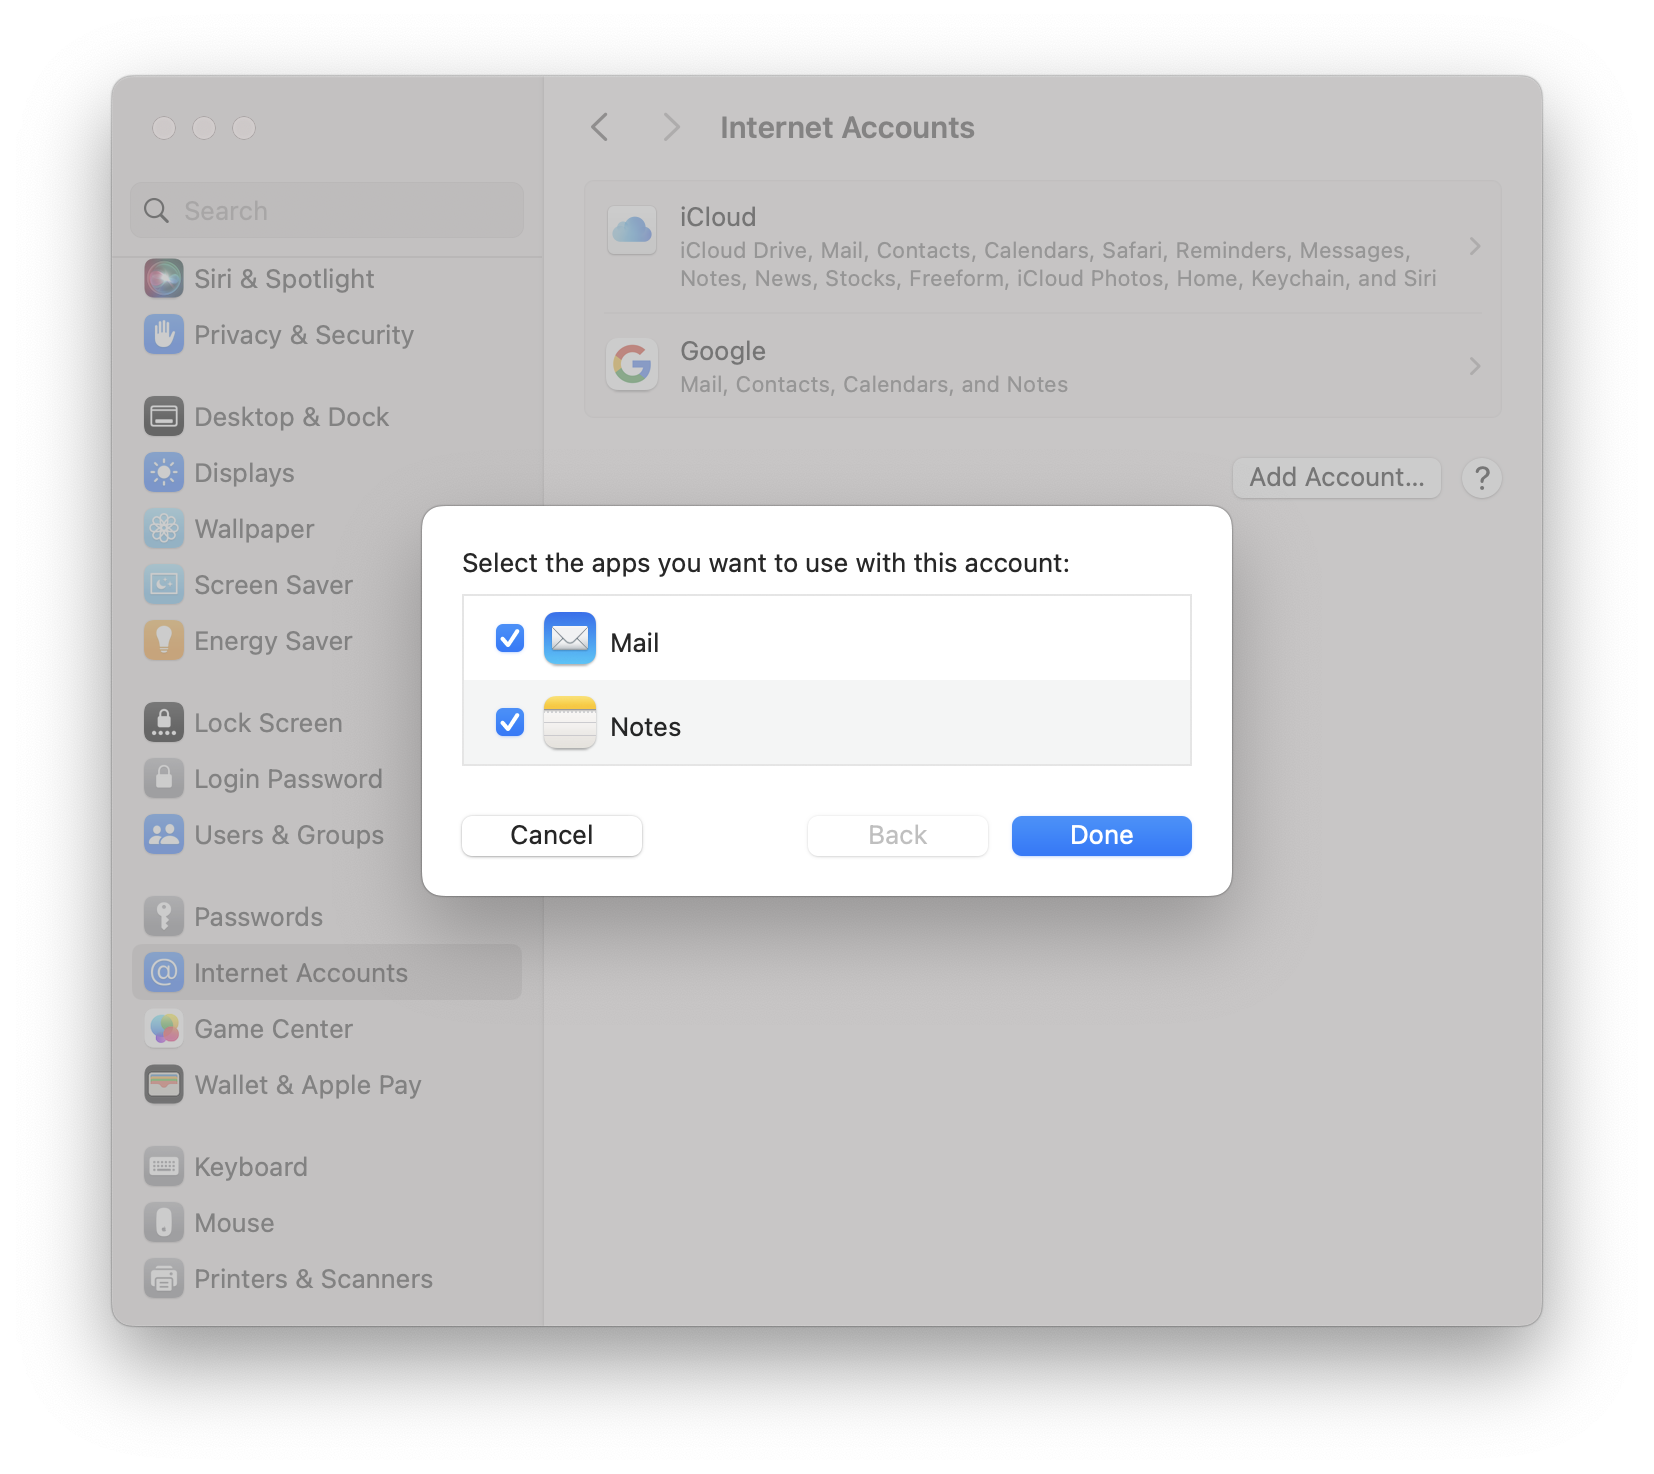
Specify what things you wish to sync with the server, in this example it is both Notes and Mail
Step 5
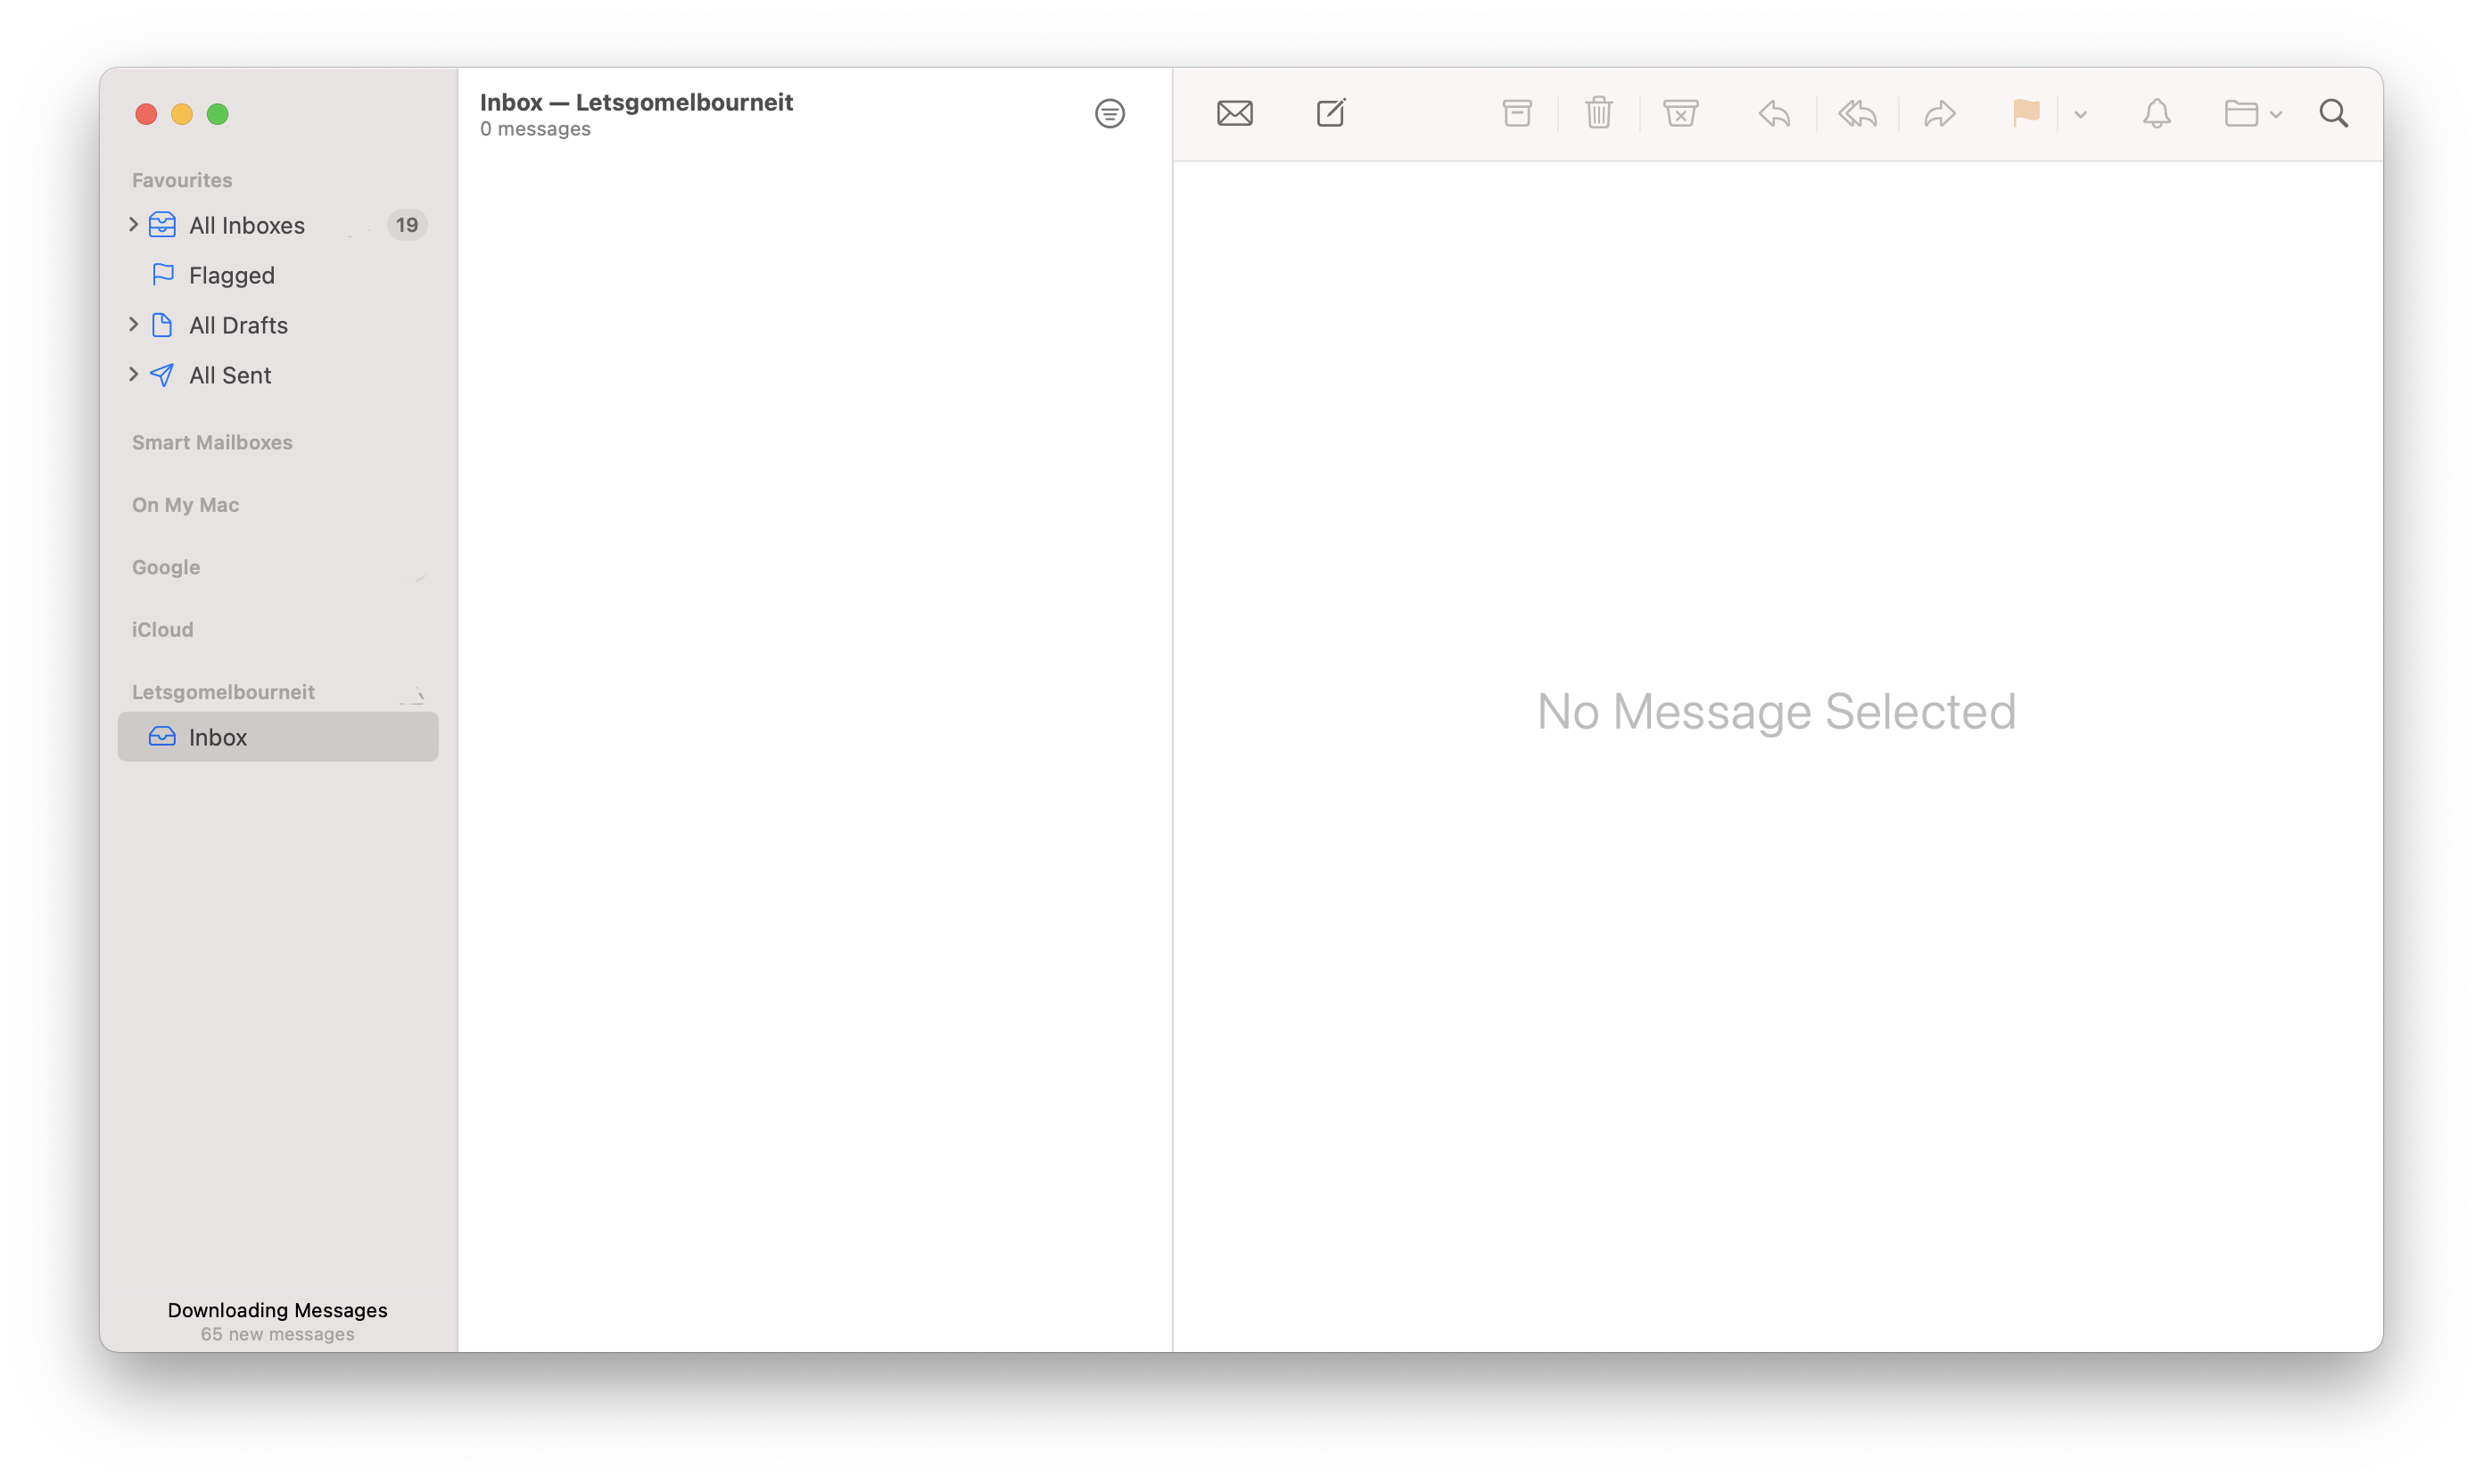
Open Mail.app and check that your emails are populating. Depending on the size of your current inbox, this may take some time to sync with the server.
Updated 3 months ago
