
How Do I Setup an Auto-Responder?
This function is ideal when going on holiday or taking a business-related trip, or even to confirm receipt of an email. Setting up an auto responder will send an automatic, personalised message in response to any new email received during a pre-determined period of time.
Set up auto responder on Cloud Hosting
- Log in to the Admin Panel
- Hover over 'Domains' and click 'Manage'
- Click on the domain you want to edit
- Click Email
- Click an existing POP, Alias or Catchall email address
- In the Auto Responder section type the subject and the body of the message
- Click [Create]
Set up auto responder on cPanel Hosting - Log in to the Admin Panel
- Hover over 'Domains' and click 'Manage'
- Click on the domain you want to edit
- Click Email
- Click cPanel Login
- Click Auto Responders
- Click [Add Auto Responder]
- Fill in the required details
- Click [Create/Modify]
Setup autoresponder on Office 365
- Navigate to https://login.microsoftonline.com
- Login using the users credentials
- Click the [ Outlook] icon
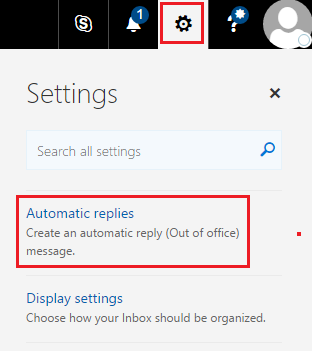
- Click on the Gear icon.
- Click [Automatic replies]
- Configure the automatic reply by enabling automatic replies
- Click [OK]
Setup e-mail client autoresponder
Autoresponders can be added directly from your mail client, (regardless of your e-mail service) links to instructions for some commonly used clients are below. If your mail client is not listed, visit the clients support website.
Outlook (Outlook for Office 365 Outlook 2016 Outlook 2013 Outlook 2010)
iCloud Mail
Mac Mail (select Automatically reply to or forward messages)
The autoresponder should begin working immediately. You can test it by sending a message to the email address you've added the autoresponder to, but if you're having trouble or you’re unable to follow these steps, or receive an error in doing so, please get in touch.
Updated 3 months ago