
How to Create & Manage Databases
Please Note: This guide refers to our Cloud & cPanel Hosting Plans
Creating & Managing your databases are easy with Melbourne IT. In this guide we have included the steps for both our Cloud & cPanel hosting plans. Databases are what drive dynamic websites
Cloud
- Log into your MyAccount
- Under Manage Services, click View Webhosting Services
- On the next page, click on the domain name’s Cloud Hosting product
- On the next page, click Manage Service
- A new window will open
- Under Cloud Hosting on the navigational bar click Database (under Cloud Hosting)
This is the management interface for your databases. Depending your plan you will have a limit to the amount of databases that can be created. It's quite easy to create a database, simply enter a name for your database and select the type. Most commonly people use MySQL.
Please Note: All of our databases for cloud are suffixed with _domain_extension
After you have created a database database management options become available. We have three fields available to us.
-
Displays Host, Username & Password details for your database. You can also reset your password via this interface. Please be aware that your host will only work if you have delegated your domain to Cloud's nameservers or have created the appropriate CNAME.Credentials -
Displays sample database connection strings in various languages. This is a way to visually assist you when configuring your database to connect to your website.DSN -
PHPMyAdmin is a web based management interfact for MySQL databases. It allows you to import/export & further manipulate your database. PHPMyAdmin is a common tool used by developers to interact with MySQL databasesPHPMyAdmin
cPanel
- Log into your MyAccount
- Under Manage Services, click View Webhosting Services
- On the next page, click on the domain name’s cPanel product
- On the next page, click Manage Service
- A new window will open
- Click cPanel Login
- Now that your inside of cPanel scroll down to the Databases category.
Inside of the databases category we have a few options, the two important tools in this category are MySQL® Databases & phpMyAdmin.
MySQL® Databases
On this page you can see a breakdown of your databases.
In the Create New Database section you can easily create a new MySQL database. After you have created a database you will need to create a user for it.
Under MySQL Users simply create the user of your choice. You will have to specify a username & Password.
Next we need to assign the user to a database. In the Add User to Database section select your user of choice and database then click Add. A new page will load giving you the option to modify permissions & access levels. You also have the ability to create multiple users for one database and set adjust their permissions accordingly.
Please Note: Only MySQL databases are available on cPanel. Also please be advised that every database is prefixed by your cPanel user id example0000_
PHPMyAdmin
PHPMyAdmin is a tool designed to manage and interact with your MySQL database. After you have created your database. Upon entering PHPMyAdmin you should see your database displayed on the left hand side.
After selecting your database you now have the option to manipulate tables & entries as well as Import / Export your database.
MSSQL Database Managment
Unfortunately, a web interface is not available for MSSQL database administration. Customers using an MSSQL database will need to connect to the MSSQL server using third party software such as Microsoft SQL Server Management Studio Express, Microsoft® SQL Server® 2008 Management Studio Express or EMS SQL Manager for SQL Server.
MSSQL Database Details
Your MSSQL Details can be viewed in your Domain Level Console.
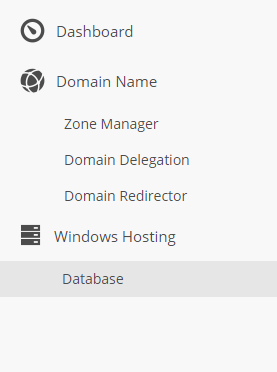
- Login to your Domain Level console, Under the Windows Hosting heading, click Database.
| |
|
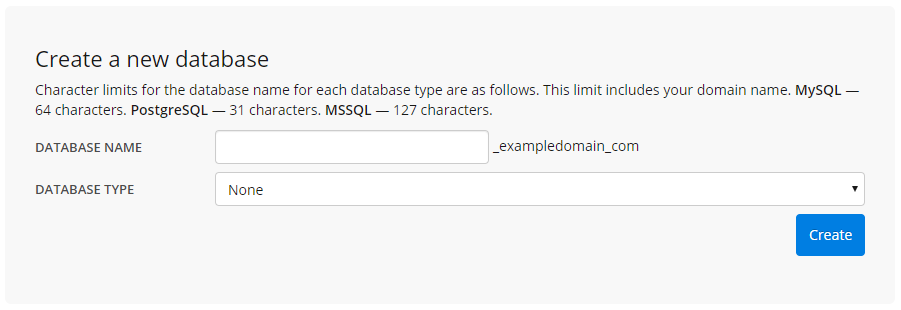
| --------------------------------------------------------------------------------------------- | - You can Create a new Database in this section and also view your Current databases.
| |
|
| --------------------------------------------------------------------------------------------- |
|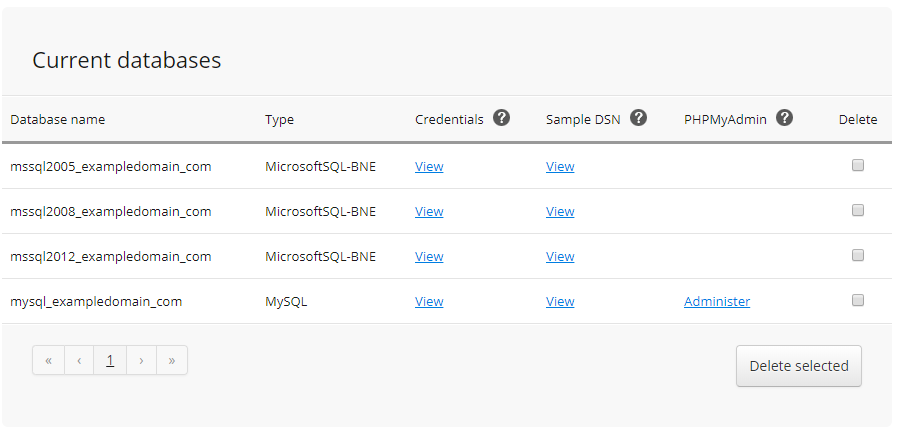 |
| - Click the View hyperlinks along the Database Name lines will provide you with the Database Credentials.
| |
|
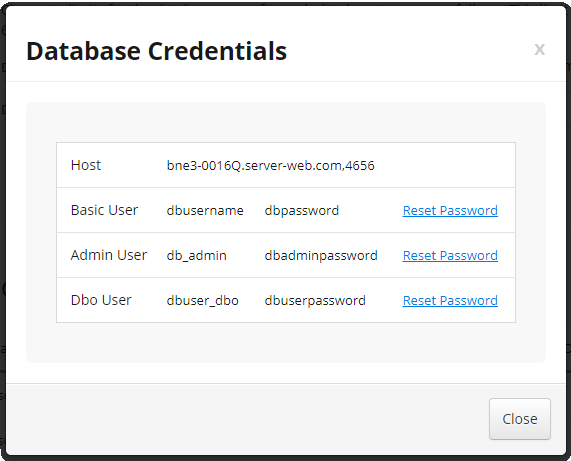
| --------------------------------------------------------------------------------------------- | - The Database Credentials Area is where you can find the associated Database Host and reset Database User passwords.
MSSQL version
We support MSSQL 2005, 2008 and 2012 databases. To determine which version of MSSQL your database is running on follow the below instructions.
- Log into your Account
- Manage the domain you want to make changes to
- Click the Database icon
- Your database host will be one of the following:
| Database Server | Pre Migration Hostname | Post Migration Hostname | Example Hostname |
| --------------- | ---------------------------- | ------------------------- | ------------------------- |
| MSSQL 2005 | mssql2005.partnerconsole.net | bne3-0006q.server-web.com | mssql2005.your-domain.tld |
| MSSQL 2008 | mssql2008.partnerconsole.net | bne3-0006q.server-web.com | mssql2001.your-domain.tld |
| MSSQL 2012 | mssql2012.partnerconsole.net | bne3-0016q.server-web.com | mssql2012.your-domain.tld |
If your domain is not yet delegated to our name servers, using you-domain.tld in the connection settings won't work. If you wish to connect to the MSSQL database prior to delegating your domain name to our name servers, replace your-domain.tld with partnerconsole.net.
Updated 3 months ago